Tools & materials
n �Safety equipment (eye protection and gloves)
n Combination pliers
n Impact drill with driver bit
n Paintbrush
n�
Two 800mm x 400mm x 400mm gabions
n ��Four 600mm x 200mm x 100mm aerated concrete blocks
n �2.5mm-thick galvanised tie wire
n ��Approximately 0.3 cubic metres of landscaping rocks
larger than 50mm wide
n ��Three 1500mm lengths of 150mm x 30mm hardwood timber•
n�
Two 440mm lengths of 50mm x 25mm hardwood timber•
n �50mm countersinking treated pine screws
n �Galvanised fixing clips
n�
120- and 180-grit abrasive paper with sanding block
n Clear exterior varnish
n 8G 20mm galvanised button head stitching timber screws
n ��Three S hooks
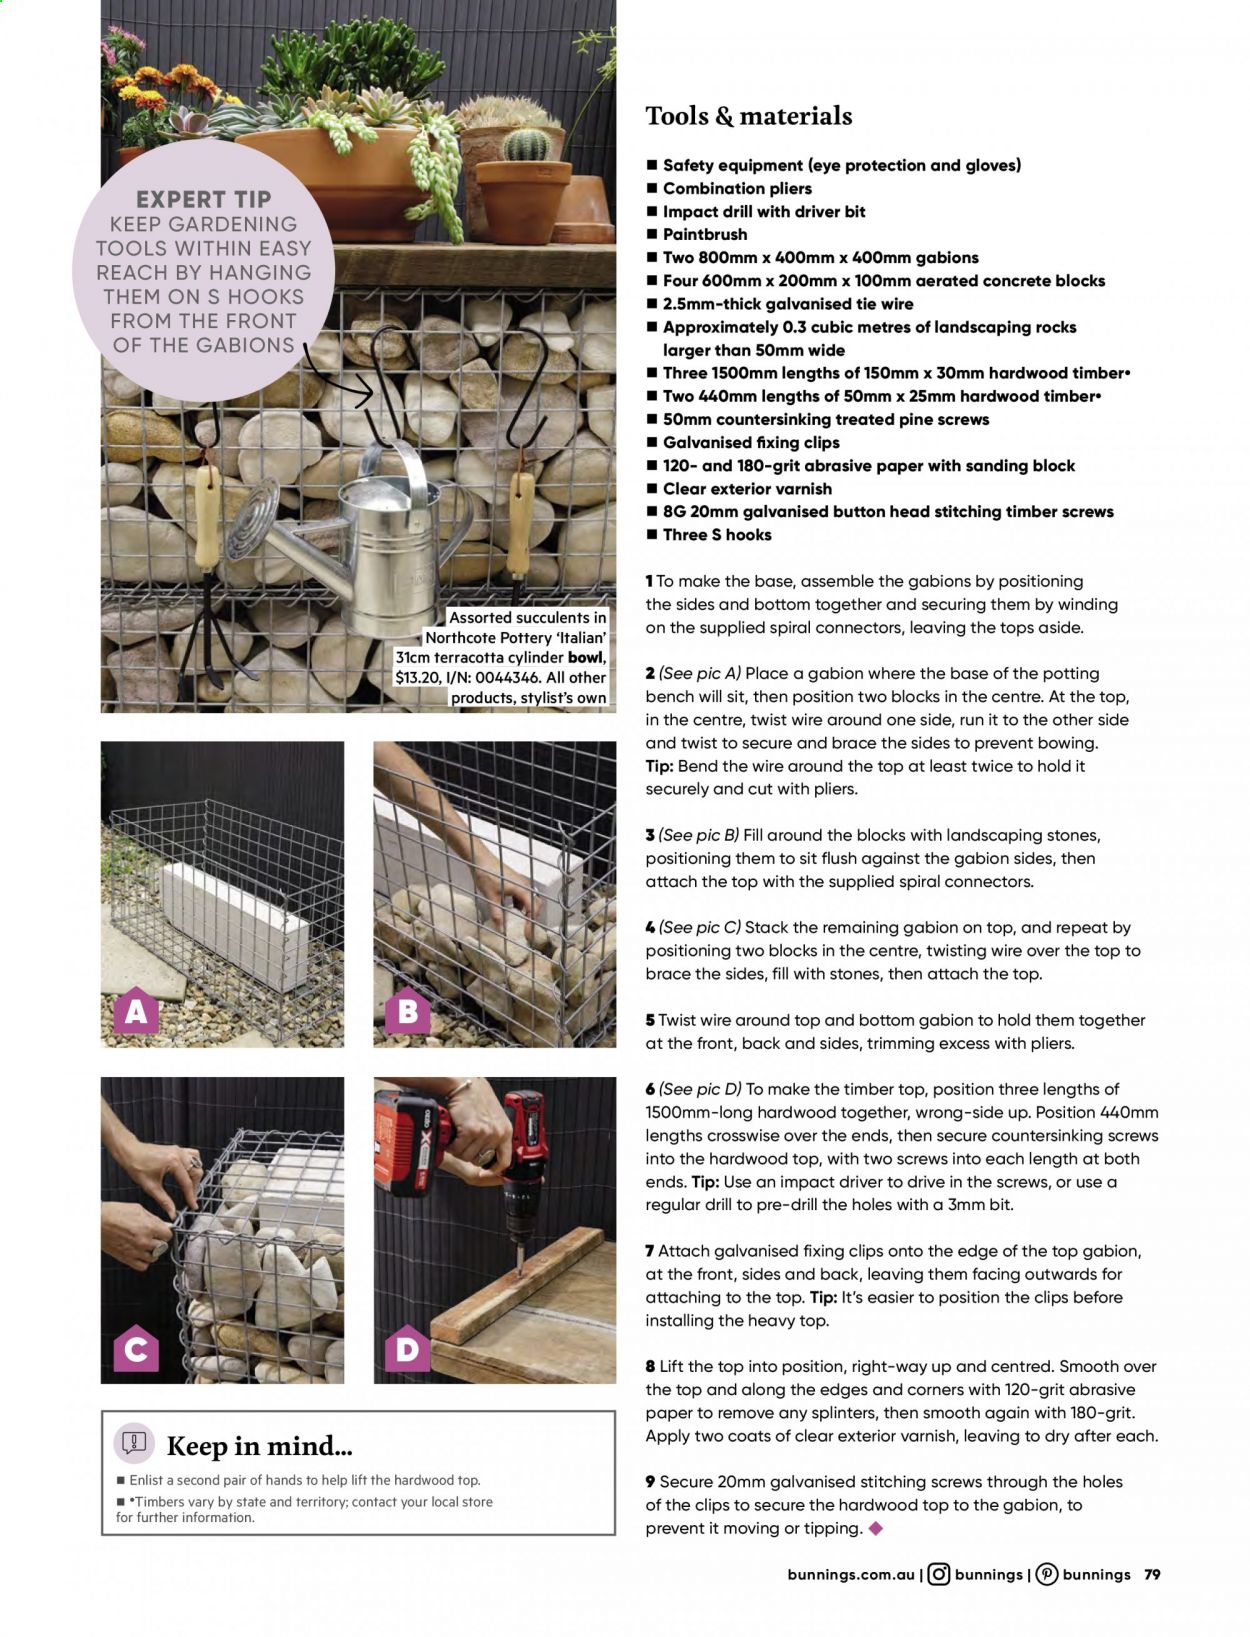
EXPERT TIP
KEEP GARDENING
TOOLS WITHIN EASY
REACH BY HANGING
THEM ON S HOOKS
FROM THE FRONT
OF THE GABIONS
Assorted succulents in
Northcote Pottery ‘Italian’
31cm terracotta cylinder bowl,
$13.20, I/N: 0044346. All other
products, stylist’s own
1 To make the base, assemble the gabions by positioning
the sides and bottom together and securing them by winding
on the supplied spiral connectors, leaving the tops aside.
2 (See pic A) Place a gabion where the base of the potting
bench will sit, then position two blocks in the centre. At the top,
in the centre, twist wire around one side, run it to the other side
and twist to secure and brace the sides to prevent bowing.
Tip: Bend the wire around the top at least twice to hold it
securely and cut with pliers.
3 (See pic B) Fill around the blocks with landscaping stones,
positioning them to sit flush against the gabion sides, then
attach the top with the supplied spiral connectors.
4 (See pic C) Stack the remaining gabion on top, and repeat by
positioning two blocks in the centre, twisting wire over the top to
brace the sides, fill with stones, then attach the top.
A
B
5 Twist wire around top and bottom gabion to hold them together
at the front, back and sides, trimming excess with pliers.
6 (See pic D) To make the timber top, position three lengths of
1500mm-long hardwood together, wrong-side up. Position 440mm
lengths crosswise over the ends, then secure countersinking screws
into the hardwood top, with two screws into each length at both
ends. Tip: Use an impact driver to drive in the screws, or use a
regular drill to pre-drill the holes with a 3mm bit.
C
D
Keep in mind...
Enlist a second pair of hands to help lift the hardwood top.
n •Timbers vary by state and territory; contact your local store
for further information.
n
7 Attach galvanised fixing clips onto the edge of the top gabion,
at the front, sides and back, leaving them facing outwards for
attaching to the top. Tip: It’s easier to position the clips before
installing the heavy top.
8 Lift the top into position, right-way up and centred. Smooth over
the top and along the edges and corners with 120-grit abrasive
paper to remove any splinters, then smooth again with 180-grit.
Apply two coats of clear exterior varnish, leaving to dry after each.
9 Secure 20mm galvanised stitching screws through the holes
of the clips to secure the hardwood top to the gabion, to
prevent it moving or tipping. ◆
bunnings.com.au |
bunnings |
bunnings 79